The very first time you load up Site3D you will see the country picker configuration. See more information on the Country Picker window. By default, this will not appear when Site3D is run after the initial setup.
When no project is open, you will notice that many of the buttons are inactive and only global menu options are available. This is because the interface of Site3D is context-aware, toolbar buttons and menu options are enabled as they become relevant to the project.
From the Tools menu, you can set default project settings that apply to new projects. From the Help menu, you can access help documentation, view and modify product licensing, check for application updates, and see the current application details and version information.
If update auto-checking is enabled you may see an update notification in the bottom right of the window. Update auto-checking can be toggled from the Help menu, in the Check for Updates window. For more information see the updates help page.
To get started on a project with Site3D, open a file.
The full set of Site3D features will be available to you after opening a drawing or project file.
You should now see something like the below screenshot when opening a survey.
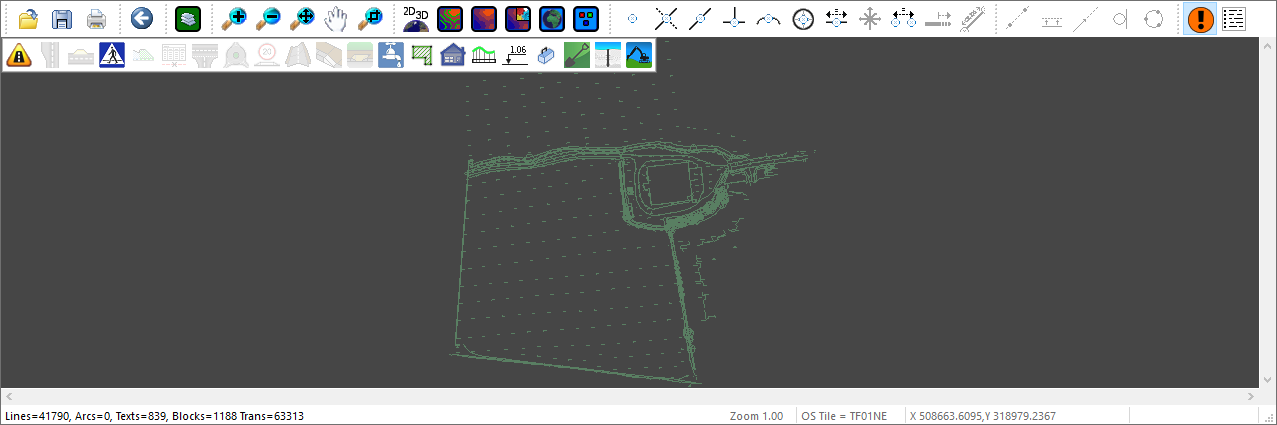
Based on the current design items in the project, some buttons and menu options may be disabled. However, these will become enabled when a related design items is added to the project. For example, the Channel Tools are enabled when there is a road, footpath, or driveway in the project.
By default, an imported drawing is shown using a single colour instead of the CAD layer colours. This behaviour can be toggled using the Colour By Layer toggle.
Additional project views can be opened at almost any time, working seamlessly alongside the plan view.
Any change, from any view, will instantly be reflected in all open views.
As an example, you can view the project in 3D by clicking the 3D View button (![]() ) at any time:
) at any time:
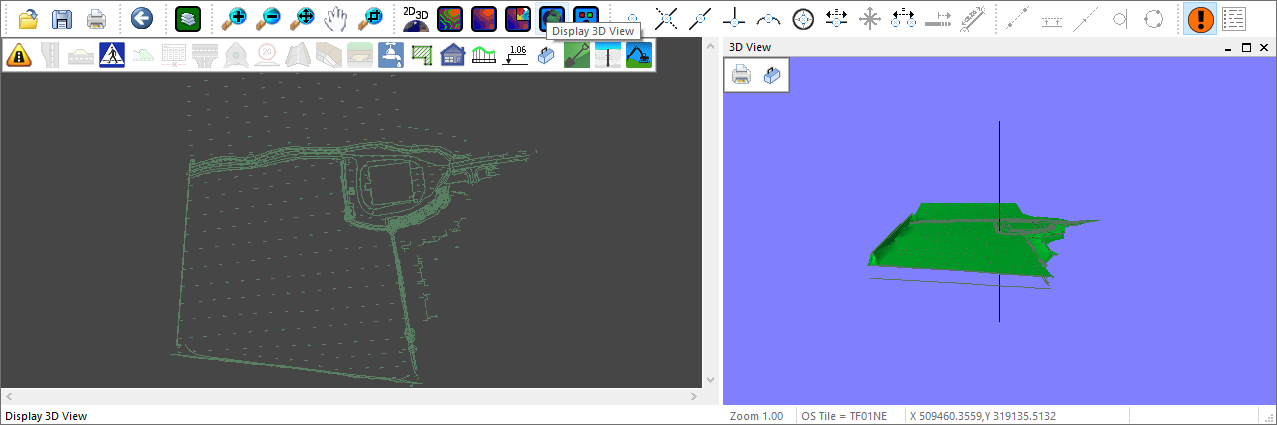
This will automatically, and in the blink of an eye, create and display the 3D models of the surfaces in the project.
If a 2D survey is loaded you will first have to convert this to 3D using the 2D to 3D Converter (![]() ).
).
For a new project, additional views will initially be docked side-by-side with the plan view, as shown in the previous screenshot.
When the mouse cursor is over the bar that divides the two views, the cursor changes to indicate that you can now use the mouse to resize the view:
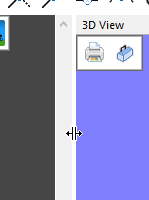
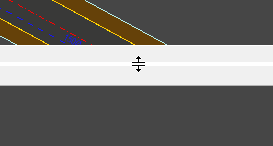
Simply click and drag the bar to the new desired size.
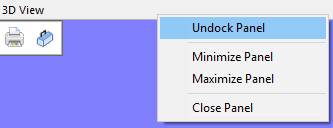
A docked view panel can be undocked from the right-click menu of the bar at the top of the view:
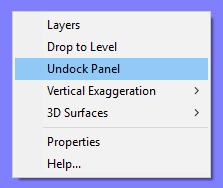
Or from the right-click menu inside the view (the exact menu layout may vary depending on the view):
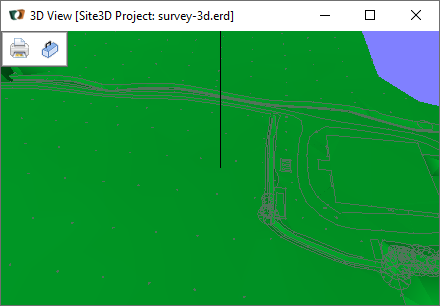
An undocked view panel looks and behaves like any other standard window:
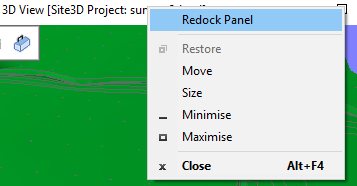
Redocking is done in the same manner, you can access this option from the right-click menu of the window title bar:
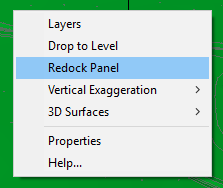
Or, again, from the right-click menu inside the view:
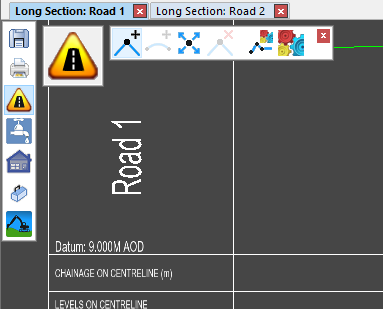
Opening multiple views of the same type, or that dock to the same region, will cause the panel to switch to tabbed views:
You can easily swap between views by clicking to the tab you want to switch to.
Tabs can be reordered by clicking on a tab and holding and dragging the tab left or right.
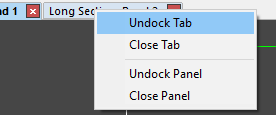
You can undock a single view by right-clicking on the tab that you want to undock. The tab does not have to be the currently active tab.
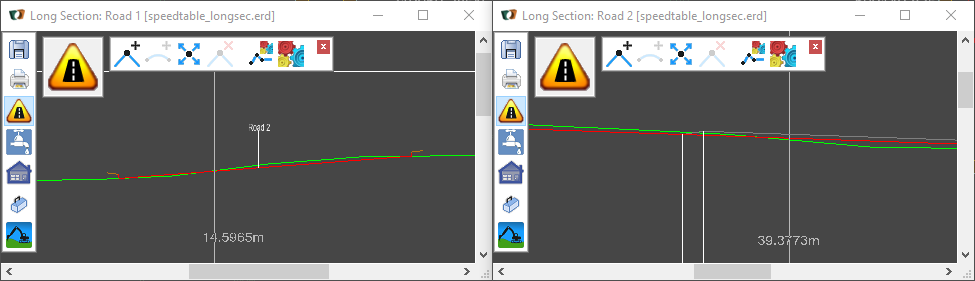
By undocking tabs to their own windows, you can have multiple views of the same time open at once.
At the very top of the window is the menu bar, here you will find the more advanced features of Site3D.
Below is the menu bar you should see, with links to specific help pages underneath:
File, Edit, View, Surface, Road, Drainage, Houses, Tools, Window, Help
The majority of actions within Site3D are done by using an intuitive toolbar system.
One of the design goals of site 3D is to share design elements across different tools when possible, so, when you have learned how one works you can intuitively understand how another works.
For specific in-depth knowledge on each of these toolbars please view the links below: