The junction toolbar will be disabled when there are no junctions in the project. See the junction properties page for more information about creating new junctions.
To access the tools for modifying junctions click the ![]() button.
button.
You will see this toolbar appear on the top left of the plan view window:


![]() Edit junction dimensions (Edit radius, add a lane or taper)
Edit junction dimensions (Edit radius, add a lane or taper)
![]() Edit junction
Edit junction
![]() Modify junction vertical transition
Modify junction vertical transition
![]() Delete a junction
Delete a junction
![]() Add a low point or high point to a junction
Add a low point or high point to a junction
![]() Add a visibility splay to the junction
Add a visibility splay to the junction
![]() Move Junction Annotation
Move Junction Annotation
![]() Click this button to close the Junction toolbar
Click this button to close the Junction toolbar
After clicking the Delete Junction button, click on a junction to remove it.
Deleting a junction will modify the Centreline Properties of the junctioning centreline, disallowing a junction to form at that end. If you need to later re-create a junction at the end of this road, you can re-enable the ability to junction from the Centreline Properties window.
After creating a junction, the annotation is automatically placed on the plan. While this often does a good job at placing the text the text may still overlap other design items on the site or texts on imported drawings.
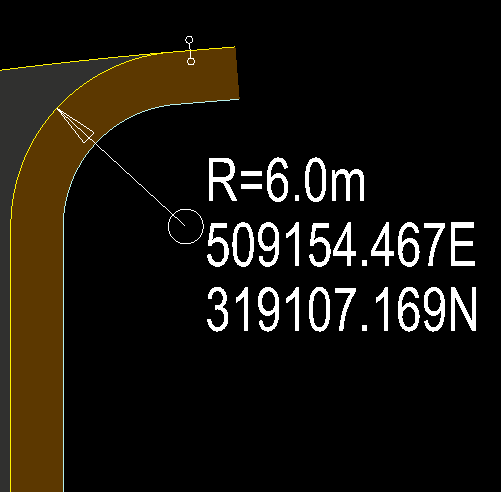
If you click the Move Junction Annotation button you will highlight the nearest junction annotation text. If you click with an annotation selected you will see a the new textbox location and a line going from the junction radius circle to the centre of the annotation:
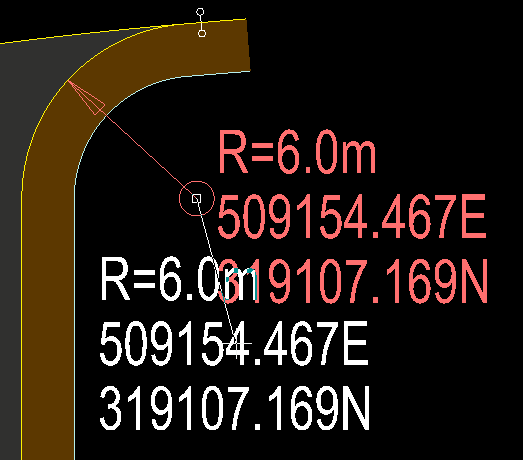
If you click again the textbox will be manually positioned to the indicated location:
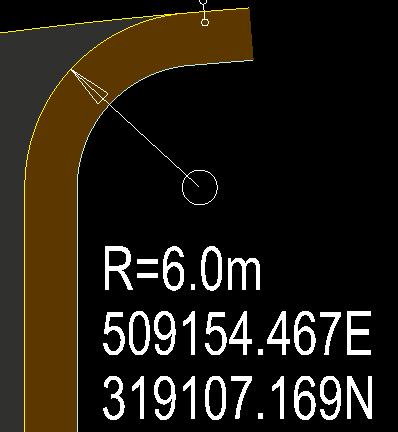
To finish right click and select Quit Command from the right-click menu.
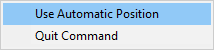
To revert back to automatic positioning you can use the Move Junction Annotation tool to select an annotation, then right click and select Use Automatic Position, this will revert the selected annotation back to automatic positioning. Alternatively, you can enter the Move Annotation tool and right click without having an annotation selected. Then, from the right click menu, select Use Automatic Position. This will allow you to select multiple annotations in a row to set them back to automic positioning. When you are done you can right click again and untick Use Automatic Position to return to manual text position or select Quit Command.