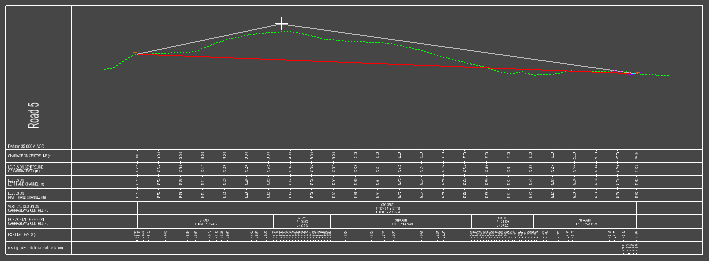
This option is for modifying the vertical alignment of a road centreline, by adding one or more vertical IPs (Intersection Points).
On the ![]() centreline tools toolbar in a longsection window, click the
centreline tools toolbar in a longsection window, click the ![]() add point button.
add point button.
Select one of the straight sections between two existing vertical IPs (they will highlight as you move the mouse close). Then position the new IP at the desired location.
To place the points accurately, you can use the various snap options on the snap toolbar.
Also, you can right-click the mouse to get a menu with additional options:
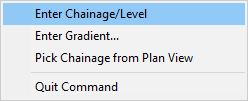
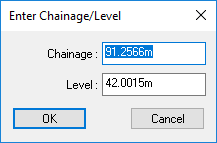
Select Enter Chainage/Level to type the desired chainage and Level on the keyboard for this vertical IP.
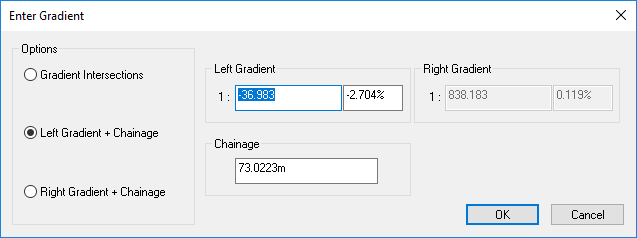
Select Enter Gradient to specify the desired gradient leading up to, or following on from, this vertical IP.
Select Pick Chainage from Plan View from the right-click menu to insert a new vertical IP at a chainage relative to a horizontal position.
When choose this option, the longsection view will "grey off" and bring forward the plan view ready for you to choose a chainage on the plan view.
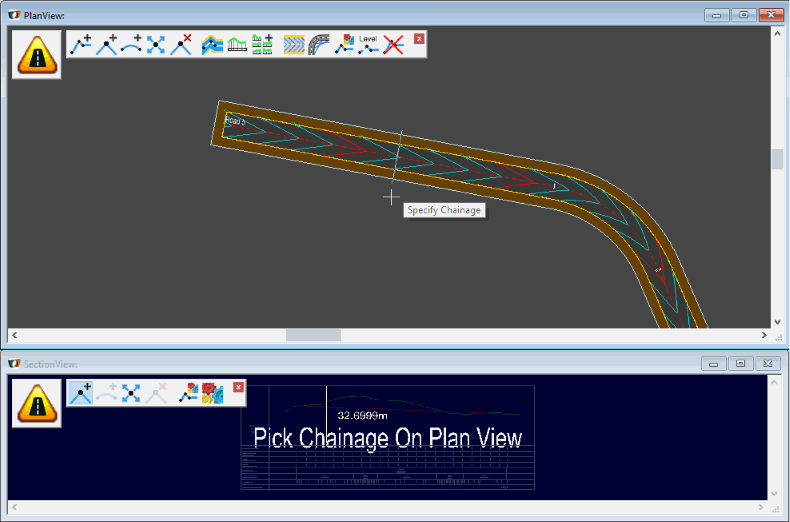
In the plan view, you can see the chainage tracker moving along the relevant centreline as you move the mouse around over the drawing. You can use any of the snap tools to accurately locate the desired chainage relative to items on the plan-view drawing.
When you pick a chainage, the longsection view will be brought back to the front asking for you to confirm the chainage and level for this new IP:
You can change the road centreline verticals at any time during the design process. Site3D will work out all the knock-on effects and update your site accordingly.