


The spot annotation tools allow you to place, edit, or delete a spot level or spot gradient annotation on your site.
To access the spot annotation toolbar click on the Spot Annotation Tools button from the Design Toolbar.
You will see the following toolbar appear at the top left of the plan view window:
This tool will allow you to place multiple spot level annotations on your site quickly.
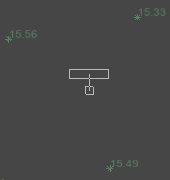
When you initially click the button you should see a guide that follows the cursor, showing how the spot annotation will appear with the default properties. The guide shows a small box at the cursor position, which highlights the point which will be annotated. Connected to that is a larger box, showing the area which will contain the text annotation:
After placing this initial spot level, the Spot Level Annotation Properties window will pop up. For more information on the properties dialog see the Edit Spot Annotation help section further down the page.
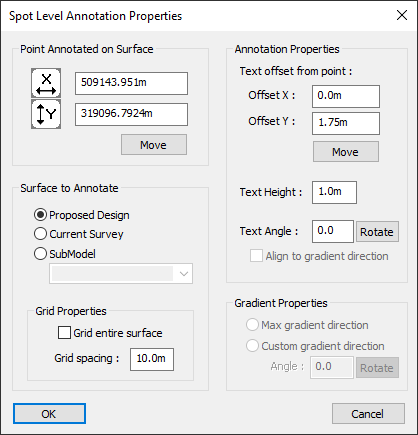
You should see the window below:
Clicking the OK button will finalize the spot level.
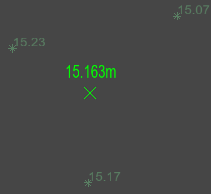
This image shows an example spot level.
After placing the initial spot annotation you will then be able to click to place successive spot levels with the same properties without having to specify the properties of each individual spot annotation.
To stop placing additional spot annotations you can exit the tool by clicking on the tool icon again, or by simply selecting another tool.
You can also exit the tool by clicking the right mouse button and selecting Quit Command from the right click menu:
![]()
In the properties there is an option to create an annotation grid, for more information on this see the Annotation Grid section below. The above description of placing successive spot annotations does not apply to grids, you will exit out of the tool after placing a grid.
This tool allows you to place a gradient marker on your site, showing the gradient at the selected point.
This tool behaves exactly as the New Spot Level tool. For more in-depth help, please refer to the New Spot Level section above.
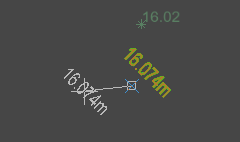
After clicking on the tool icon from the spot annotation toolbar you will see a placement outline that follows the cursor
As with the New Spot Level tool, after you click to place the initial spot gradient you will see the Spot Gradient Annotation Properties dialog.
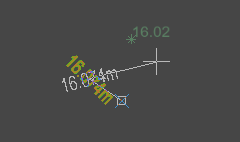
Clicking the OK button will finalize the spot gradient.
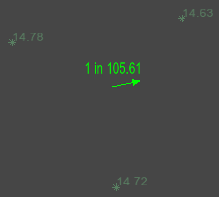
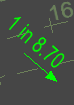
This image shows an example spot gradient.
As with the New Spot Level tool, after placing the initial spot annotation you will then be able to click to place successive spot levels with the same properties without having to specify the properties of each individual spot annotation.
You can stop placing additional spot gradients in the same way as the New Spot Level tool. Simply exit the tool by clicking on the tool icon again, switch to another tool, or select Quit Command from the right click menu.
After placing a spot annotation and ticking the Grid Entire Surface checkbox, a regular grid of spot annotations will be applied to the surface at the specified spacing. The point that is initially selected to place the annotation grid will be used to align the grid.
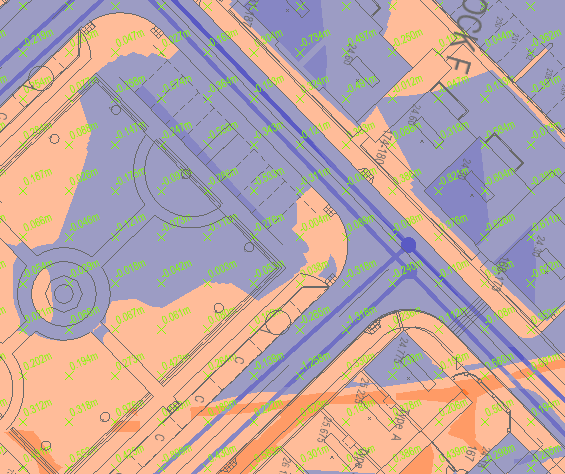
This image shows an example spot level grid applied to a cut and fill surface with a spacing of 5m.
An annotation grid is a single object that the spot annotation tools interact with it as a singular entity. Meaning that every annotation in the grid shares the same text properties.
When the spot annotation tools are used on an annotation grid, the annotation nearest the cursor will behave as though you were editing a single spot annotation. The change will then be reflected across the grid. This behaviour is shown below:
With this tool you can check the steepest downhill path to a low point on a surface from any given point on the surface. This gives an indication of where water would flow to and pool on a surface.
Note: The path produced does not take water inertia, friction, or volume into account, so would not overtop small obstacles, for example.
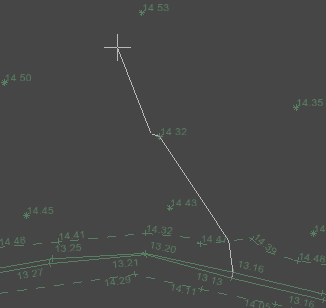
After selecting this tool the select surface window will appear where you can select which surface you want to check the water flow path on. After making your selection you can then move the mouse over the surface to see the flow path from the cursor:
While the tool is active, you can right click and pick "Select Surface" to change which surface is being used.
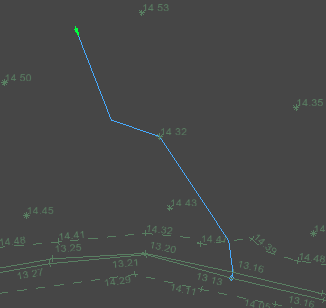
Clicking with the mouse will add the currently shown path to the model. The green arrow indicates the start point and flow direction, the circle at the end indicates where water would pool:
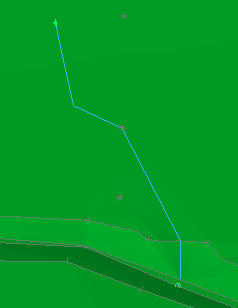
Below is an example of this path in the 3D view:
This tool allows you to move a spot annotation to a new position. This will recalculate the level/gradient based on the new point whilst keeping the same text properties.
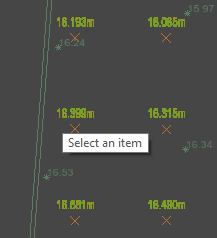
First select the spot annotation that you want to modify, the spot annotation closest to the cursor will be highlighted showing which annotation will be selected when you click. After selecting a spot annotation there will be a guide under the cursor showing the how the spot annotation will be changed:
If you decide at this point that you do not want to move the spot annotation, you can exit the tool by clicking on the tool icon again, switching to another tool, or selecting Quit Command from the right click menu.
Otherwise, choose the new position, and click to move the spot annotation to the new position.
This tool allows you to move the text position of a spot annotation, without affecting the annotated point or other text properties.
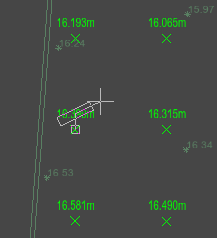
First select the spot annotation that you want to modify, the spot annotation closest to the cursor will be highlighted showing which annotation will be selected when you click.
After selecting a spot annotation there will be a guide under the cursor showing the how the spot annotation will be changed.
Note that the position of the level/gradient that is annotated will not be changed.
If you decide at this point that you do not want to move the annotation text, you can exit the tool by clicking on the tool icon again, switching to another tool, or selecting Quit Command from the right click menu.
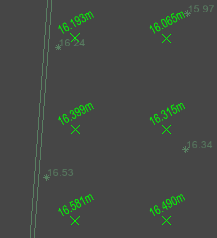
Otherwise, choose the new text position, and click to move the text to the new position.
This tool allows you to rotate the text of a spot annotation, without affecting the annotated point or other text properties.
If you decide at this point that you do not want to rotate the annotation text, you can exit the tool by clicking on the tool icon again, switching to another tool, or selecting Quit Command from the right click menu.
Otherwise, choose the new text orientation, and click to set the text rotation to the new angle.
This tool can be used to alter the properties of a previously placed spot annotation.
Clicking on a spot annotation will bring up the spot annotation properties window shown below:
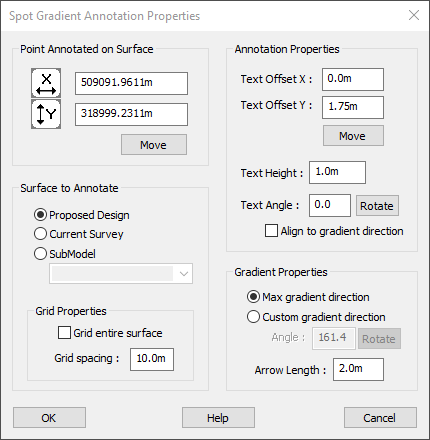
Here you fine tune the position of the spot annotation.
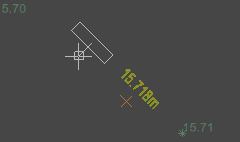
Clicking on the Move button will allow you to visually select a new position from the plan view, showing an outline of the annotation with the updated properties that have been input.
This is the surface that you will be annotating levels on.
If you select the Proposed Design radio button the spot annotation will annotate levels on the proposed design surface and will be drawn in red.
If you select the Current Survey radio button the spot annotation will annotate levels on the current survey surface and will be drawn in green.
If you select the SubModel radio button the drop down menu will become activated, and you can then specify which surface you are annotating levels on and the spot level annotation will be drawn in the layer colour of the selected sub-model.
You can adjust the position of the text relative to the spot level insertion point.
Clicking on the Move button will allow you to visually select a new text position from the plan view, showing an outline of the annotation with the updated properties that have been input.
You can also adjust the size of the text with the Text Height input and the angle of the text with the Text Angle input.
Clicking on the Rotate button will allow you to visually select a new text angle from the plan view, showing an outline of the annotation with the updated properties that have been input.
For spot gradient annotations you have the option of enabling Align to gradient direction. With this checkbox ticked the annotation will align to the gradient arrow. With this alignment, the text offset specifies the relative offset from the gradient arrow, with the X offset specifying distance in the arrow direction and the Y offset specifying perpendicular distance from the arrow.
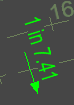 This example shows the Align to gradient direction option enabled.
 The text position is kept aligned to the gradient arrow if the gradient direction changes. For example, if the surface is modified or if a new custom gradient direction is specified. This is useful for final surface annotations as the text will stay aligned if the surface gradient changes when the final surface is regenerated.
For spot gradient annotations, the default setting is to annotate the maximum downhill gradient at the chosen point. This is the Max gradient direction option.
Optionally, you can toggle to Custom gradient direction, this will allow you to specify the direction of the gradient that you want to annotate. For example, you might want to annotate the gradient perpendicular to a road channel line. After selecting this option you can then specify the angle by typing into the text box or click the Rotate button to the right to pick the angle from the drawing. The angle is specified in degrees with 0 degrees pointing east, increasing in the counter-clockwise direction, with 90 degrees pointing north.
With this tool you can remove spot annotations from the project.
When the tool is active the nearest spot annotation will be highlighted, click to delete the currently highlighted spot annotation. If the spot annotation you click is part of a spot annotation grid the entire grid will be removed.
If you decide that you want to stop deleting spot annotations, you can exit the tool by clicking on the tool icon again, switching to another tool, or selecting Quit Command from the right click menu.